


Slay the Day: How to Install a 2x6 Lace Closure Like a Pro (and Become Your Own Bestie)
Hey hair besties! Ready to unlock the magic of 2x6 lace closures and achieve that flawless, undetectable install? Don't fret, even beginners can become closure queens with this step-by-step guide. Forget wig struggles and hello, confidence boost!
Gather Your Slay Kit:
Before diving in, make sure you have the essentials:
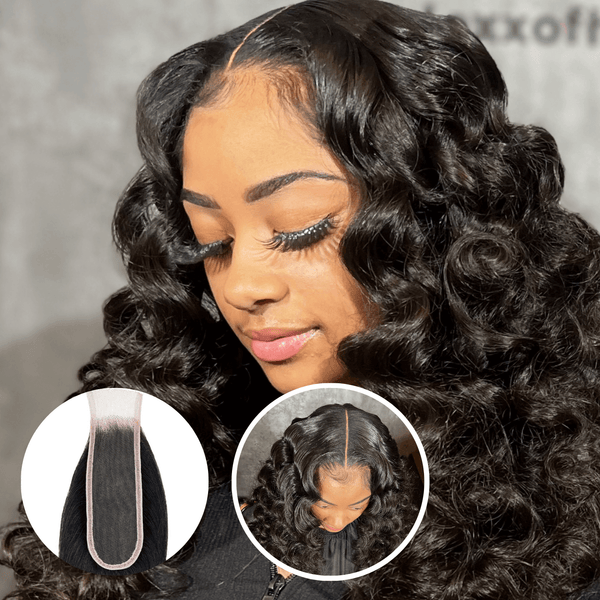
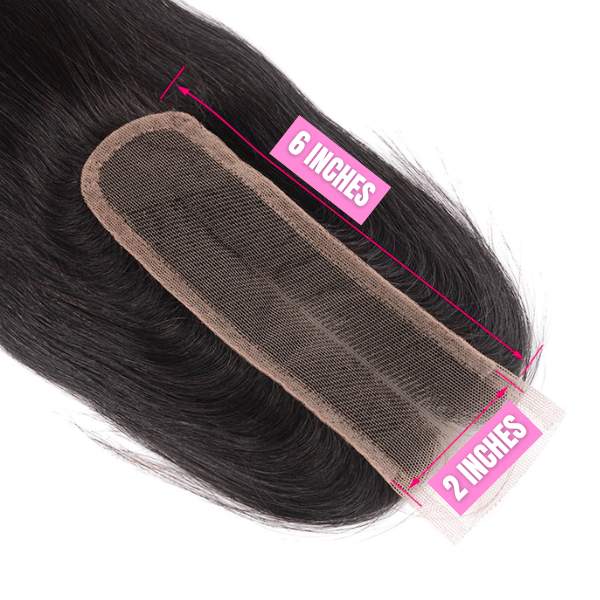
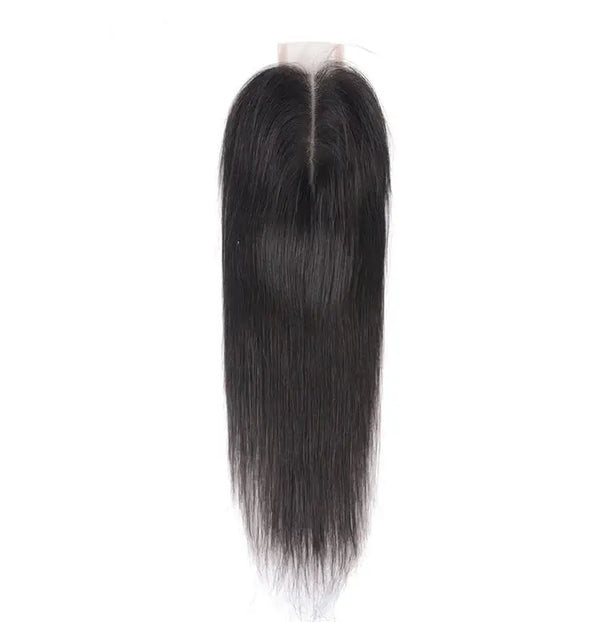
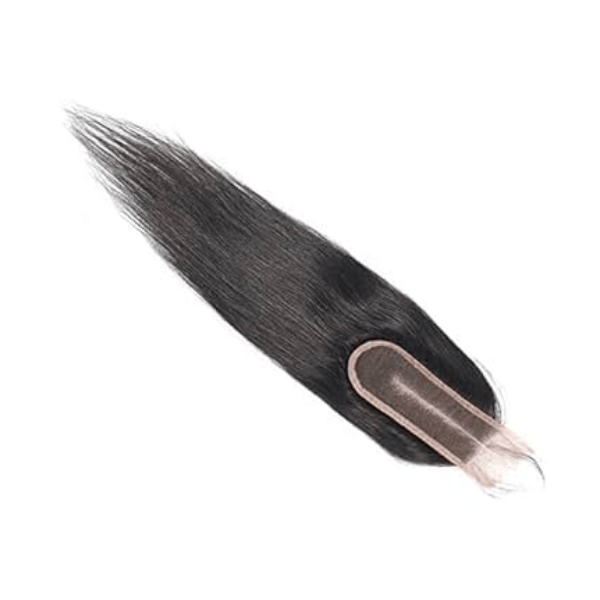
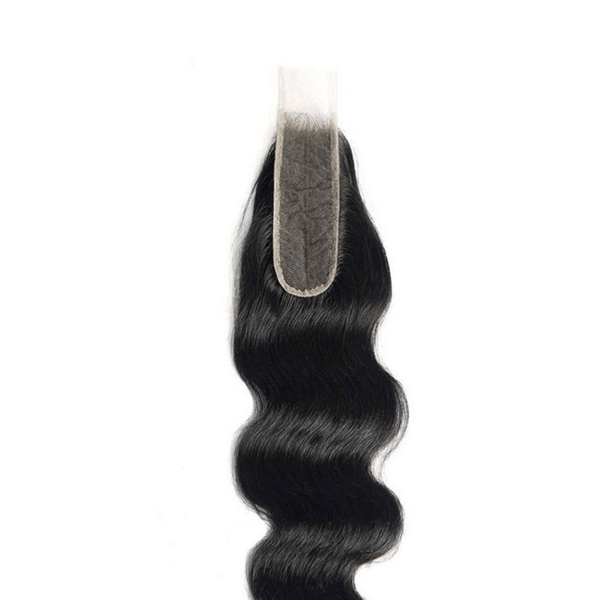
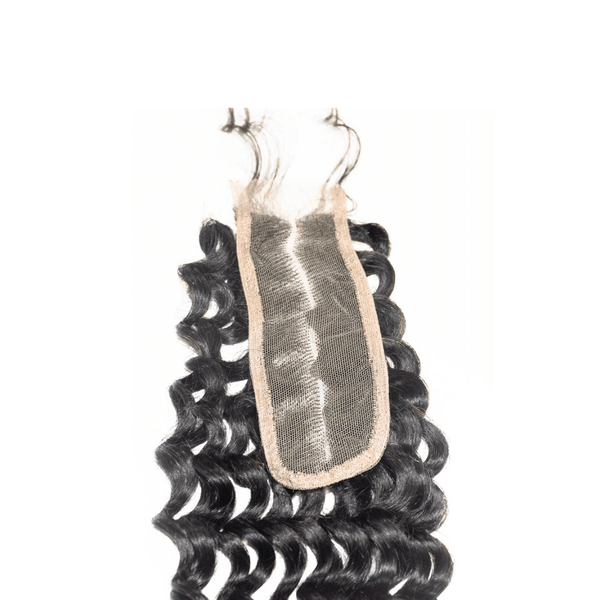
- Your chosen 2x6 lace closure: Ensure it matches your hair type, density, and color for a seamless blend.
- High-quality wig adhesive: Choose one suitable for your skin and hair type (liquid, tape, etc.).
- Gentle wig brush and comb: Detangle and smooth your natural hair with care.
- Wig clips: Secure the closure while the adhesive dries.
- Spray bottle: Filled with water to mist the lace for a natural look.
- Concealer or foundation: Blend the lace with your skin tone for an invisible finish.
- Styling tools: Embrace your creativity with curling irons, flat irons, or your magic fingers!
Prep Like a Pro:
This is key for a smooth installation:
- Wash and Deep Condition: Cleanse your scalp and hair with a gentle shampoo and conditioner. Avoid harsh chemicals and excessive scrubbing.
- Moisturize: Apply a lightweight moisturizer to your scalp to prevent irritation.
- Detangle and Braid: Gently detangle your hair and braid it flat against your head for a secure base.
Become an Adhesive Ace:
Apply your chosen adhesive carefully:
- Follow the instructions: Each adhesive has specific application methods. Read and follow them closely.
- Thin is key: Apply a thin layer of adhesive to the lace and your hairline. Avoid overdoing it, as it can be messy and uncomfortable.
- Let it set: Wait for the adhesive to become tacky before proceeding. This usually takes 30-60 seconds.
Securing Your Crown:
Time to place the closure with precision:
- Align carefully: Position the closure on your head, matching the lace to your natural hairline. Start from the front and gently press back.
- Use the clips: Secure the closure in place with clips while the adhesive dries completely.
- Gently press and smooth: Once dry, gently press the lace onto your scalp, smoothing out any air bubbles.
Blending is Believing:
The final touch – making it look natural:
- Mist the lace: Lightly mist the lace with water to mimic your scalp's moisture and make it more flexible.
- Concealer magic: Apply concealer or foundation along your hairline to blend the lace with your skin tone. Use a damp beauty sponge for a seamless finish.
- Parting perfection: Gently part your natural hair around the closure to create a realistic look.
- Style and slay: Now comes the fun part! Style your hair and closure together into your desired look. Braids, waves, ponytails – the possibilities are endless!
Pro-Tips for Besties:
- Practice makes perfect! Don't be discouraged if your first attempt isn't flawless. Keep practicing and you'll be a pro in no time.
- Watch tutorials! Utilize online resources and visual guides for additional guidance.
- Be gentle with your lace! Avoid harsh pulling or tugging, which can damage the closure.
- Clean and store your closure properly to extend its lifespan.
- Have fun and experiment! Express your unique style and rock your new look with confidence!
Remember, installing a 2x6 lace closure is a journey, not a race. Embrace the process, have fun, and celebrate your inner hair bestie! With these tips and practice, you'll be slaying your wig game in no time. Go forth and conquer, queens!
